

Photos: 7 steps to make a wheelbarrow flower planter
Step 1
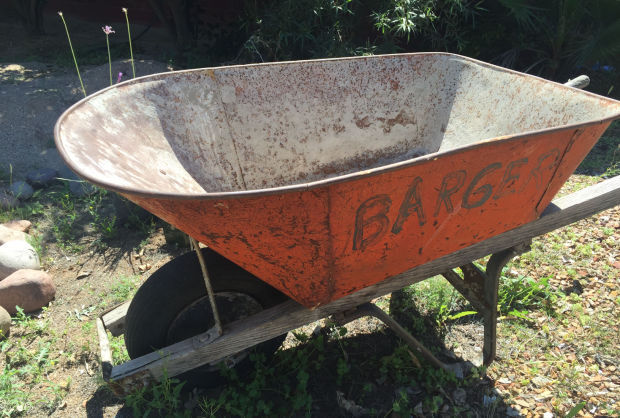
Cruise estate and yard sales for an old wheelbarrow, or convert your old one if it’s rickety and past its prime.
Step 2

Spray paint the outside if desired. I chose a neutral tan because someday my brick-red house will be repainted a similar color. Green paint would work well, or maybe a bright yellow or purple?
Step 3

Drill several holes in the bottom. Don’t skip this step or your plants won’t drain properly. And don’t forget to wear safety glasses! Then, line the bottom with a piece of metal mesh or use a shallow layer of gravel to keep the soil from dribbling through the drainage holes.
Step 4

Buy your plants and place them in the empty wheelbarrow and move them around for height, color, trailing nature, etc., until you get it just right. Remove plants from the wheelbarrow, keeping them in the same planting configuration, and water the pots thoroughly. Give them time to drain while you go on to the next step.
Step 5

Create your soil mix or buy potting soil. Use a cactus mix if you’re planting succulents. I used a 40-60 mix of native soil and compost from Tank’s Green Stuff. I added a bit of soil sulfur to cut the alkalinity and coconut coir for better water retention. A dash of Bokashi soil amendment got mixed in, as well. (More on Bokashi another day.)
Step 6

Fill soil in the wheelbarrow about halfway to the top, reserving a few extra shovels full. Gently remove the flowers from their pots and tease out any roots that are pot-bound. Place them in the wheelbarrow and add the remaining soil to within a few inches below the top of the wheelbarrow.
Gardening

Water thoroughly and gently tamp down the plants to eliminate air pockets.

Get creative with old containers and save money.