

Remember seventh-grade sewing class? At the time, I could hardly wait to get sewing. Reading the pattern directions, checking for the appropriate layout information and pinning the pattern in place were sheer torture.
I didn't believe my teacher when she said preparation was just as important as the actual sewing process. What did she know? After all, she was old — at least 30!
My perspective has changed a bit. Thirty now is the opposite of old, and apparently my teacher did know what she was talking about.
Commercial sewing patterns have been available in the United States for almost 150 years. Ebenezer Butterick invented the first home sewing pattern in 1863. The first patterns were for men's clothing. Women's patterns were added several years later, and the home sewing market took off.
For many years, the trend in home sewing was women's and children's apparel. Trends change, however, and home sewing today includes a huge selection of items for the home.
People are also reading…
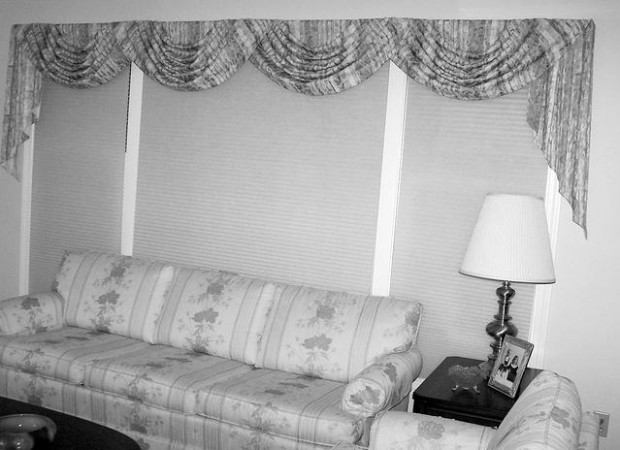
If you'd like to try a home decorating project, don't be surprised if it takes several visits to your fabric store before you actually decide on a pattern. There are so many available choices in the home decorating section that it can be difficult to narrow down the selection.
Once you have chosen your pattern, be sure to check the back of the pattern envelope for fabric recommendations; this might help you with fabric selection. Once you've decided on a fabric, again refer to the back of the envelope to determine the amount of fabric you'll need.
Remember, it may be necessary to purchase additional fabric if your project requires multiple panels of fabric. Most printed fabrics have a horizontal pattern match, meaning that all cut lengths have to start at the same point in the pattern so the seams will match when they are joined.
The back of the pattern package includes other important information. It lists sewing notions you will need to complete your project. These might include thread, interfacing, bias tape, ribbons and decorative edgings.
Your next stop probably will be the notions aisle. When you select your thread, choose a color that is a shade or two darker than the color of your fabric. If your fabric is multicolored, choose a thread that is slightly darker than the background color.
When you get home, take another look at the back of the pattern to determine which pattern pieces you'll need. After removing the required pieces and instruction sheet, you'll face a major challenge — how to refold any unneeded pattern pieces so that they fit back into the envelope. When the pieces are removed from the envelope, they tend to be wrinkled and creased. To remove the creases, I usually iron the pieces with a dry iron.
After ironing the pieces, refer to the instruction sheet to determine the proper layout design. Place your fabric on a flat surface and pin your pattern pieces in place, being careful to note any special symbols.
One of the most important symbols on the pattern piece is the grain-line arrow. Be careful to place your pieces so that this arrow runs parallel to the selvage of the fabric. This will ensure that your finished project lays flat and doesn't twist.
I like to lay out the larger pieces first, and then position the smaller ones. I try to position the pieces as close together as possible, being careful not to overlap any cutting lines.
I prefer to use long dressmaker pins for my projects. I place them perpendicular to the edge of the pattern, making sure to keep them inside the cutting line. I've also used pattern weights with good results.
After pinning your pattern in place, use a sharp pair of fabric shears to cut out the pieces. Follow the directions on the instruction sheet to complete sewing your project.